It's possible to install multiple instances of Linkar Web Services.
Each instance needs to be installed in a different folder and has its own settings, being completely independent from the other instances.
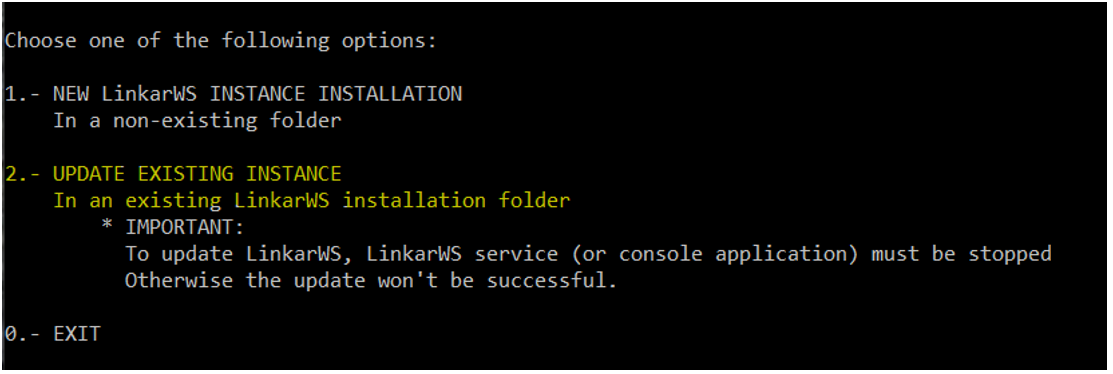
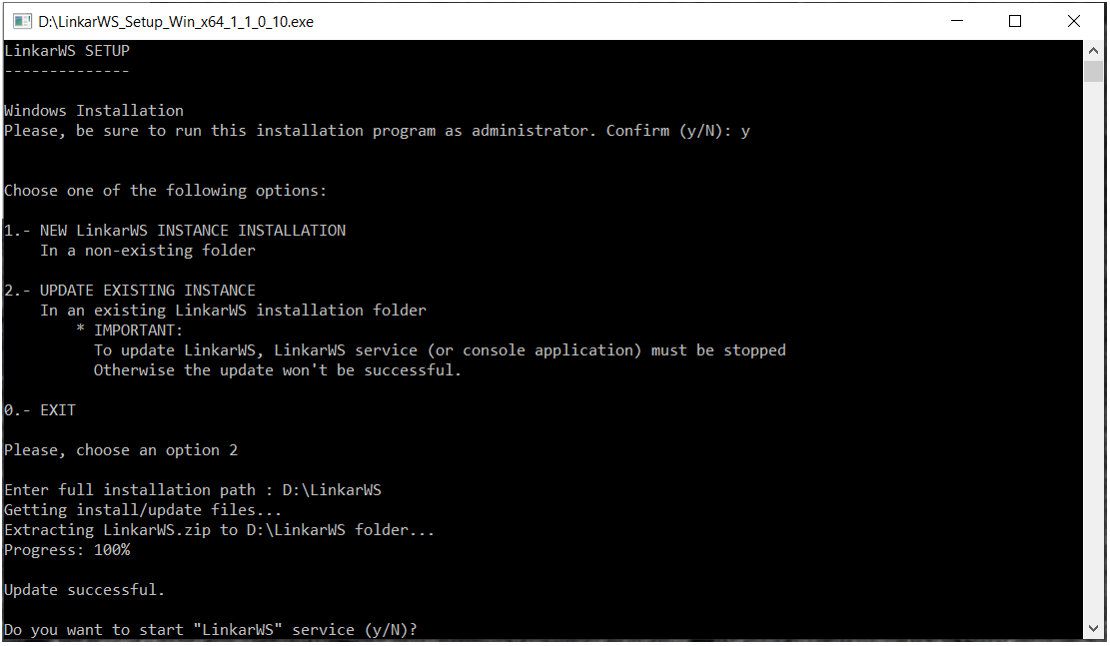
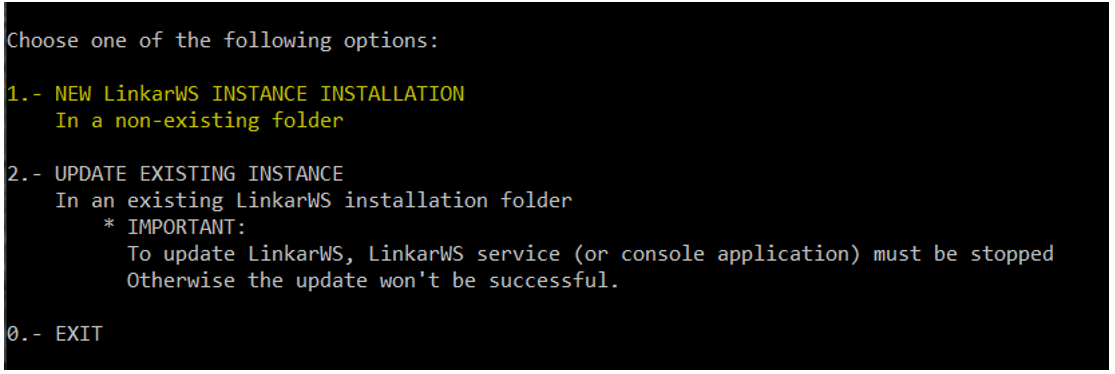
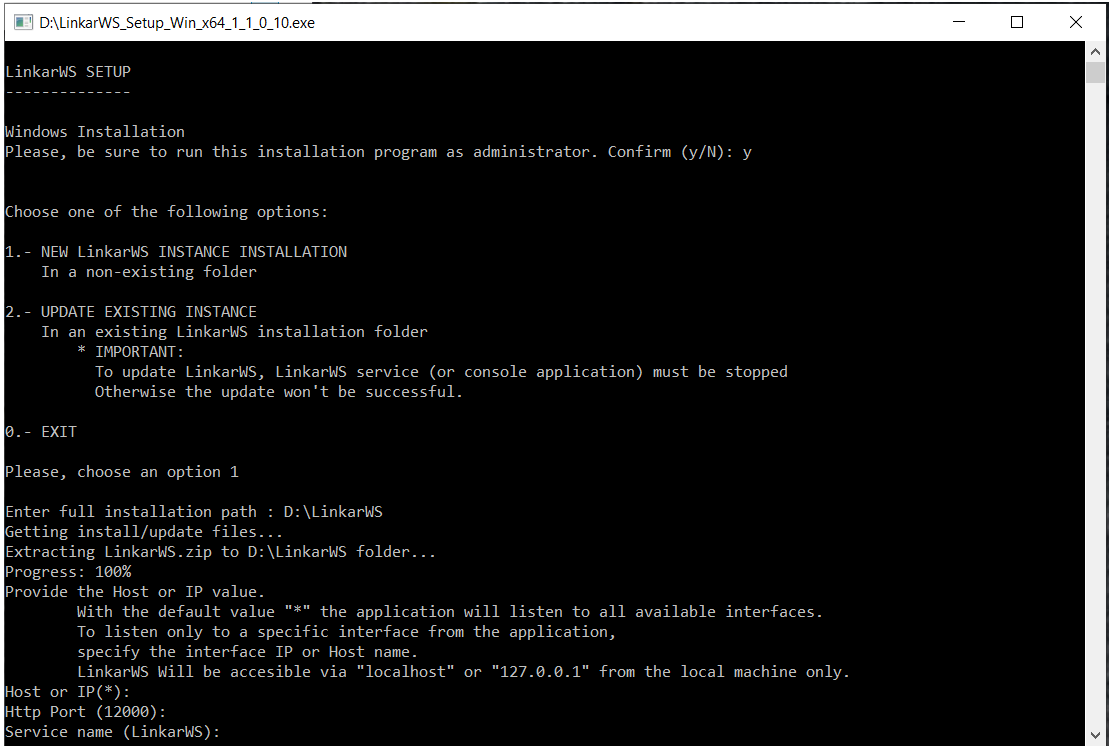
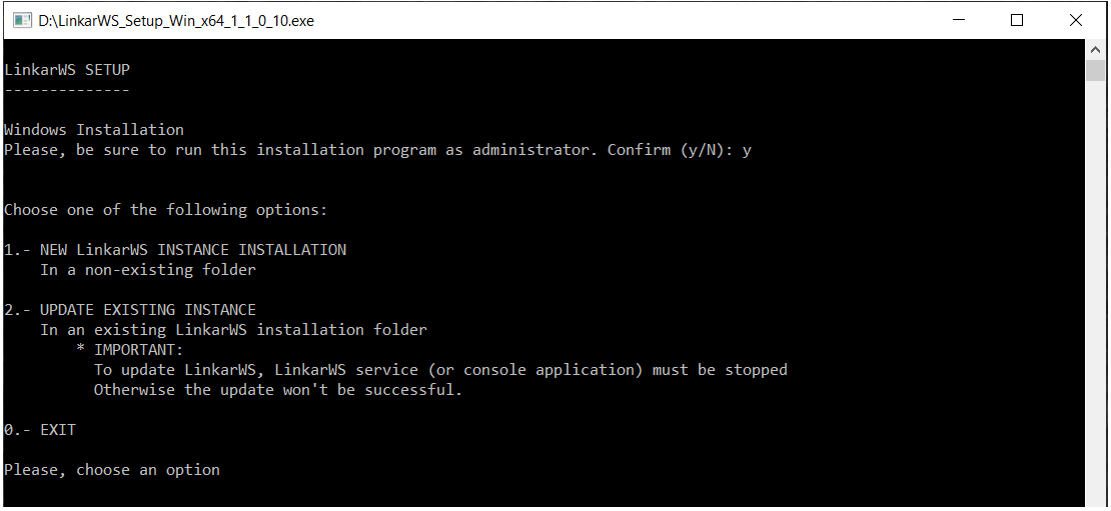
To instal a new instance, select option 1 from the menu. Next, enter the full installation path for LinkarWS. The folder must be a new one and it will be created during the installation process.
We strongly recommend not installing LinkarWS in folders with special permissions, like "Program Files" or similar ones, as this will cause access problems.
Next, the process will require the following values to be indicated:
•Host. Interface that LinkarWS will listen to. The default value is "*", which will indicate LinkarWS to listen to all the available interfaces. •Http Port: Interfaces port to which LinkarWS will listen to. •Service name: Name of the Windows Service, default is "LinkarWS". This name must be unique for each LinkarWS instance installed.
On the last step, the windows service of LinkarWS will be started.
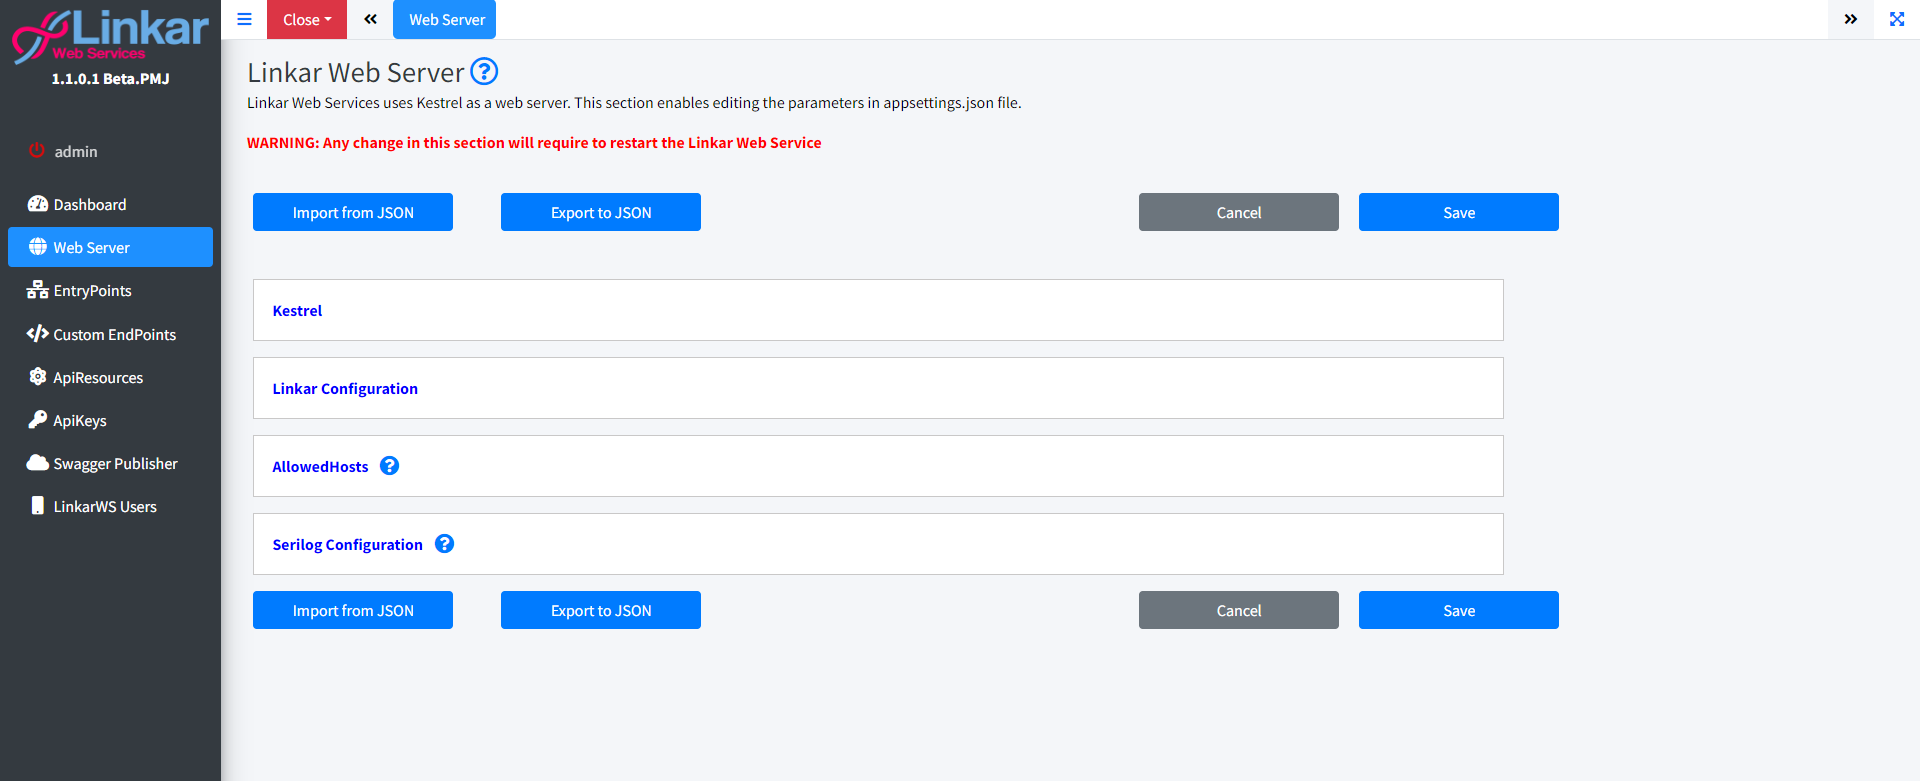
Once started, the computer's default web browser will open the LinkarWS configuration website.
The default credentials are:
•User: admin •Password: admin
At first, LinkarWS is set to ApiKey Authentication Mode.
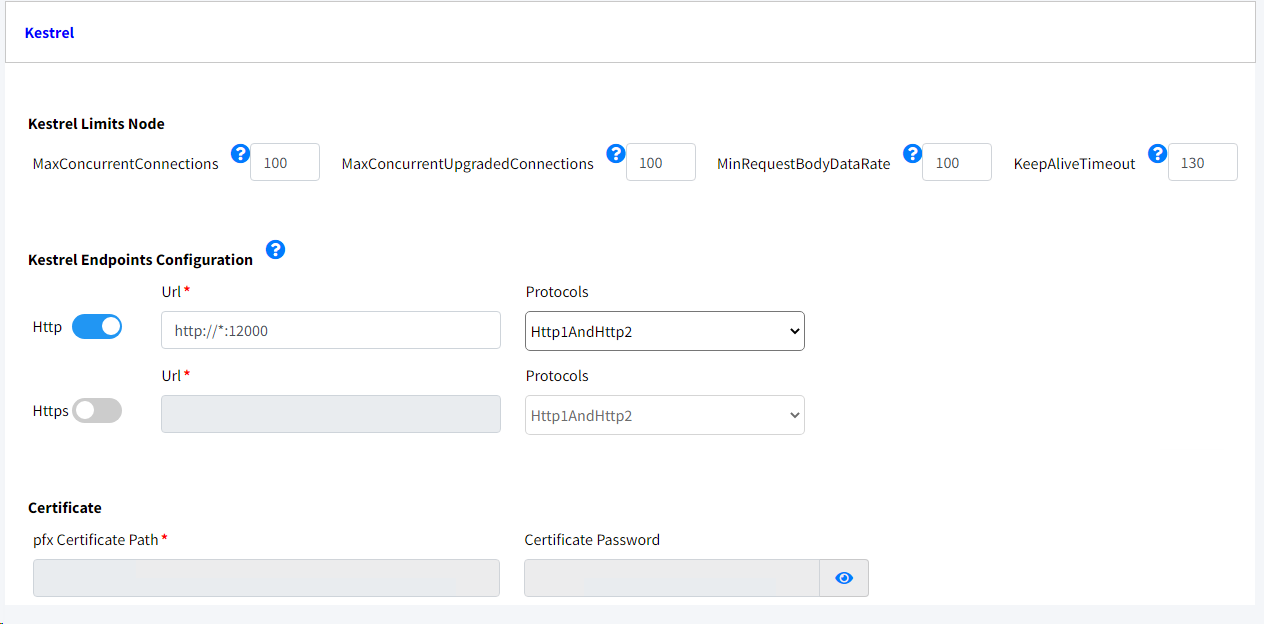
One of the first adjustments to do is configuring the Kestrel Server.
Here we indicate the domain name or IP, together with the TPC port where LinkarWS will be listening to.
Additionally, here is determined if LinkarWS will be accessed via http, https or both. In case of https access, a valid certificate needs to be provided for the domain name.
LinkarWS can run in three different ways: as a windows service, as a console application or with reverse proxy. We can run LinkarWS as a console application from LinkarWS and, furthermore, the service can be created, started, stopped and deleted from here as well.
If we don't want to run LinkarWS as a service, it can be started running the command console on administrator mode, set the current working directory to the LinkarWS root folder and running the following command:
LinkarWS.exe --console
Remember to stop the service before running this command. To stop it, run the following command:
sc stop LinkarWS
To get LinkarWS working and be able to access LinkarWS configuration, the service or console application must be running.
In case of having multiple instances installed, each one of them has to be installed in a different folder and the Windows service name has to be different as well
If you want to use LinkarWS with IIS as a reverse proxy server, --console argument must be included in the “web.config” file. In the aspNetCore node, if the “arguments” attribute does not exist, it will be added with the value --console, as shown below
<aspNetCore processPath=".\LinkarWS.exe" arguments="--console" stdoutLogEnabled="false" stdoutLogFile=".\logs\stdout" hostingModel="inprocess" />
|
 Installation of a new instance