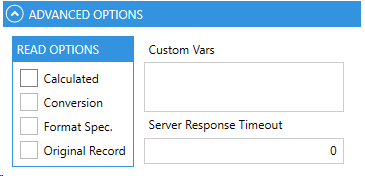
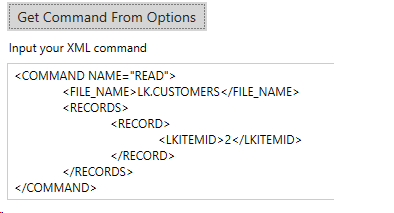
The following example shows the steps to be followed to execute a Read command and obtain the code that could be transferred to our application. We will look at the similarities and differ-ences based on the options we have chosen in the main menu.
It is important to clarify that the commands are executed through the “SendCommand” function, Linkar Trainer allows us to generate the command for the operation we want, in this case, the Read command.
By selecting one of the main menu options we will find a new window. A tab called Connection will appear in this window. The first thing we must do is enter the necessary data to establish communication with the Linkar Server.
We need to provide the same data regardless of the type of connection that we have previously selected, but we will find slight differences that should be explained.
Direct Connection In this case, we just have to press the Read button and it will show us the selected operation on the right.
Persistent Connection In this case, we must perform a Login operation before we can access the Read function.
When the connection has been successfully established, we will have an assigned Session ID and all the functions we can perform will be unlocked. We just have to press the Read button and it will show us the selected operation on the right.
IMPORTANT! When the test is completed you should logout to avoid leaving ses-sions open in Linkar Server. Although these sessions expire over time, closing them when they are no longer required improves server performance. |
The window will show the operation next to the connection tab. If we wish, the Connection tab can be hidden by clicking on its name so that the operation is displayed occupying all the available view.
This view will not vary much regardless of the format we have previously selected but when we find a differ-ence we will stop to analyze it. If you wish, the sections that do not correspond to the format you have chosen can be skipped.
The view will be divided into four parts in order to explain the parts into which the Command is divided:
|
The Source tab will allow us to see how we should code to send the command that we have just carried out in our application. We can choose between the different programming languages available and directly copy all the code or the fragment that we need.
The code that appears is different depending on the options that have been selected. For example, if it is a persistent command, it will include the Login function, which will not happen if it is a direct one. The credentials of the connection and the particular options of the command are also variable and the result is the code of the single operation that you just performed. |


