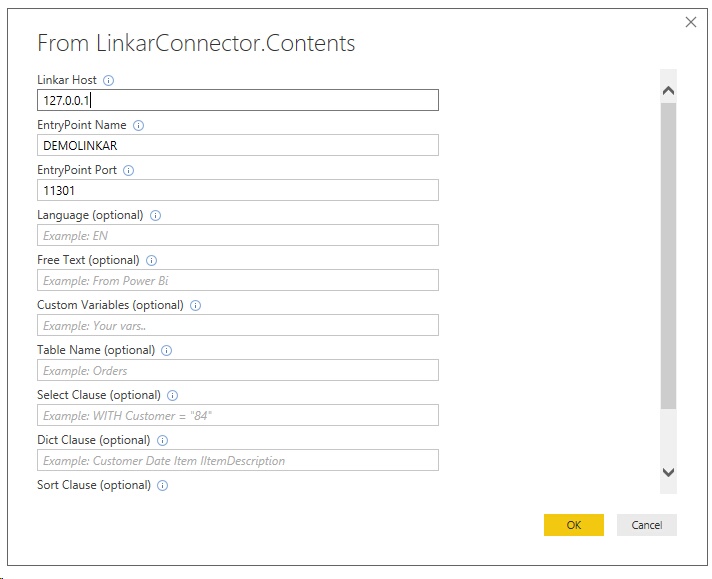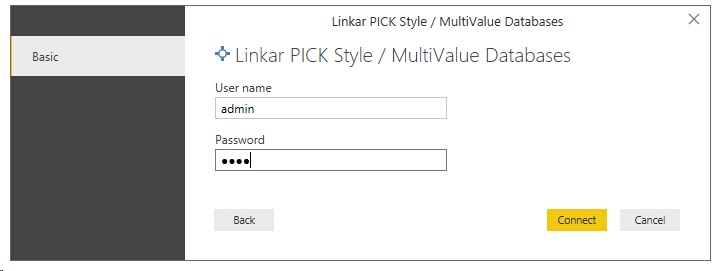
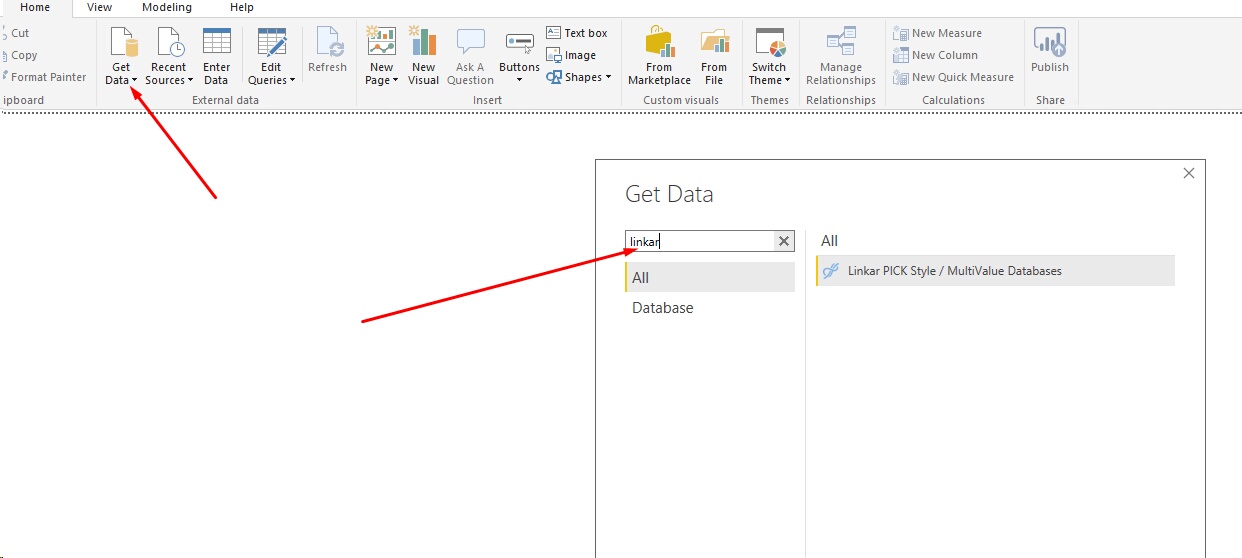
When you choose the Linkar Data Source a form will be displayed with the credentials that you will need to connect to an EntryPoint.
Linkar Server must have the Power Bi Plugin activated. And all you need is to have Schemas defined.
You can make the connection in two ways:
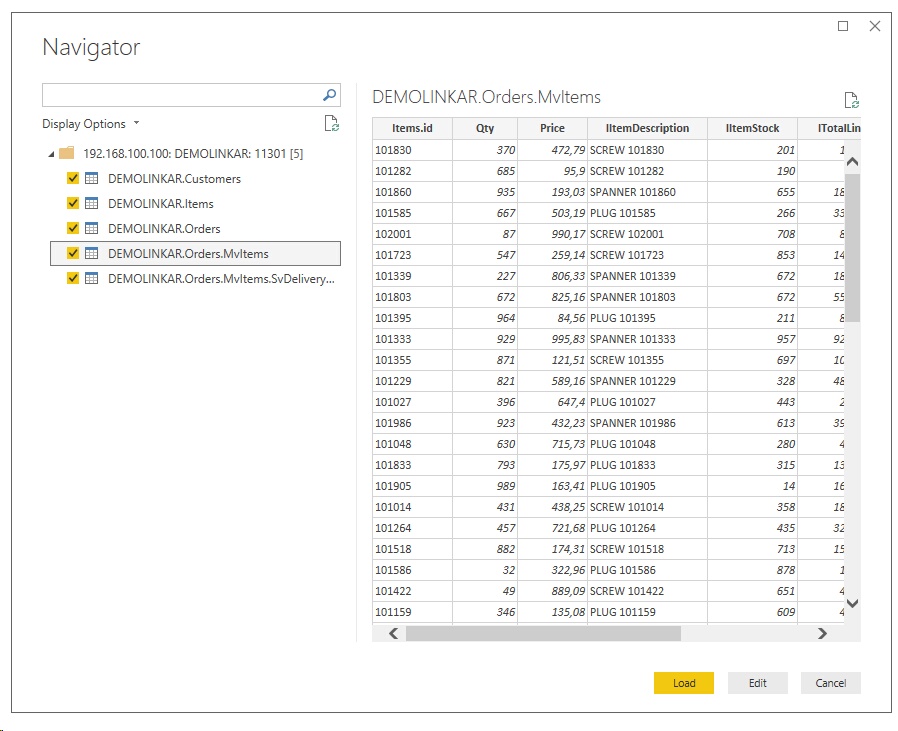
You will see all the Schemas defined in the EntryPoint and you may import the tables you require.
The connection data is enough:
The first connection Power Bi will ask you for the Linkar User and Password.
All visible Schemas defined in the EntryPoint will be displayed and you can choose anyone and see its visible Properties.
The Table name format is: EntryPointName.TableName, where the TableName is the name of the defined table in Linkar Schemas. Linkar adds the EntryPoint name in order to be able to import data from different accounts in files with the same name.
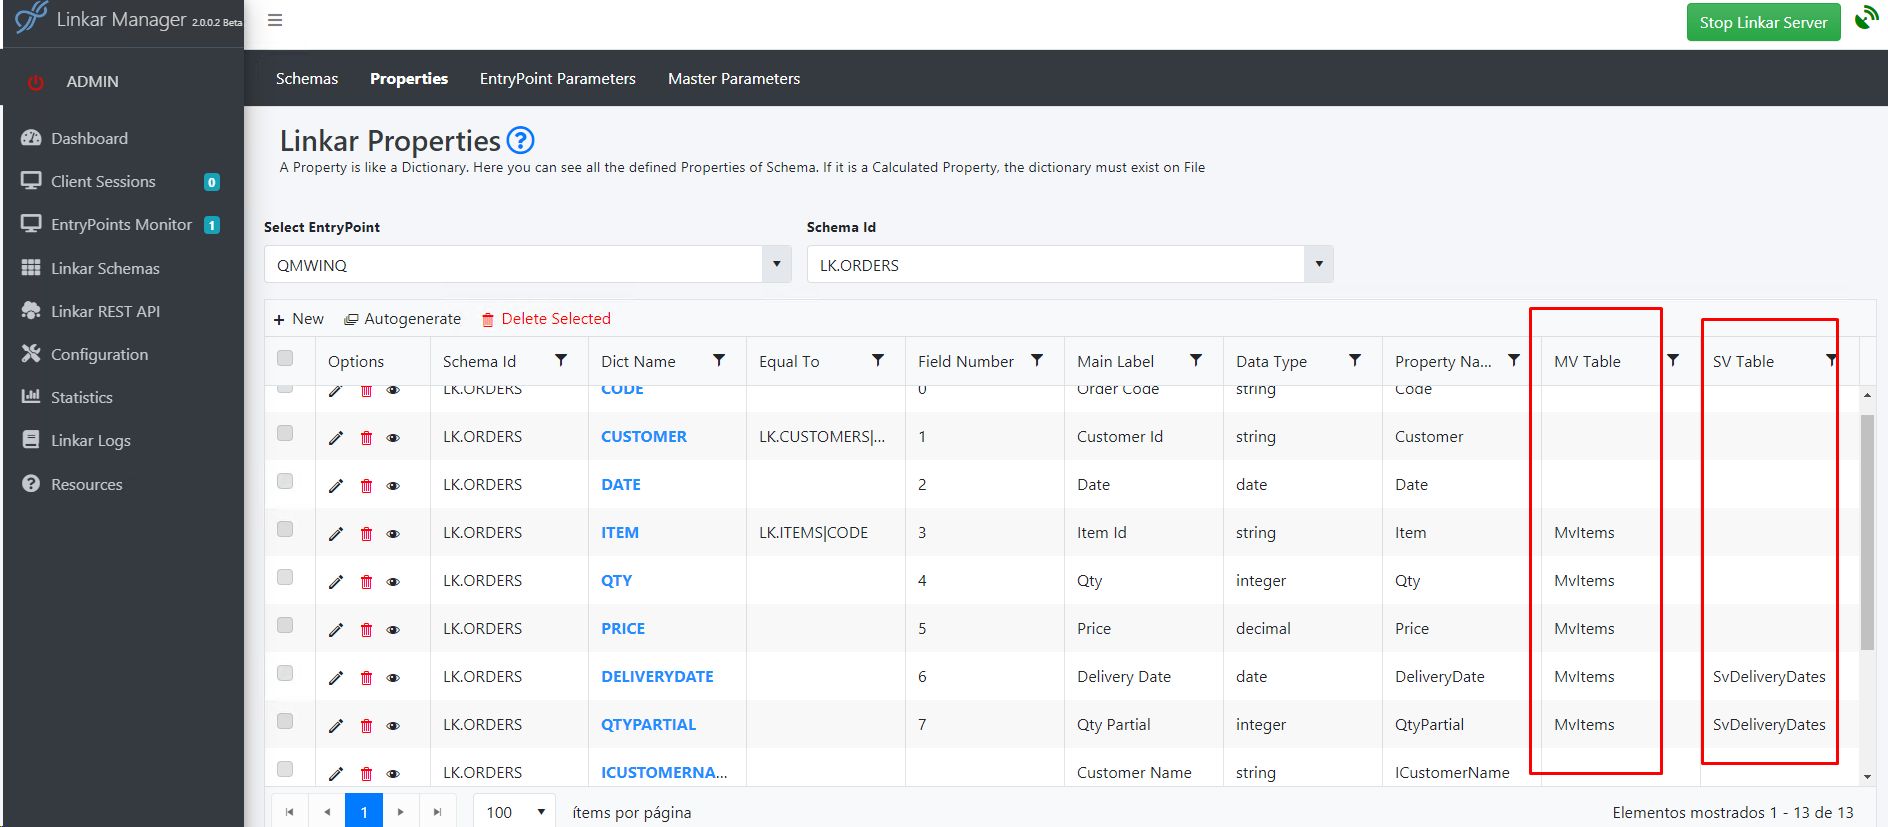
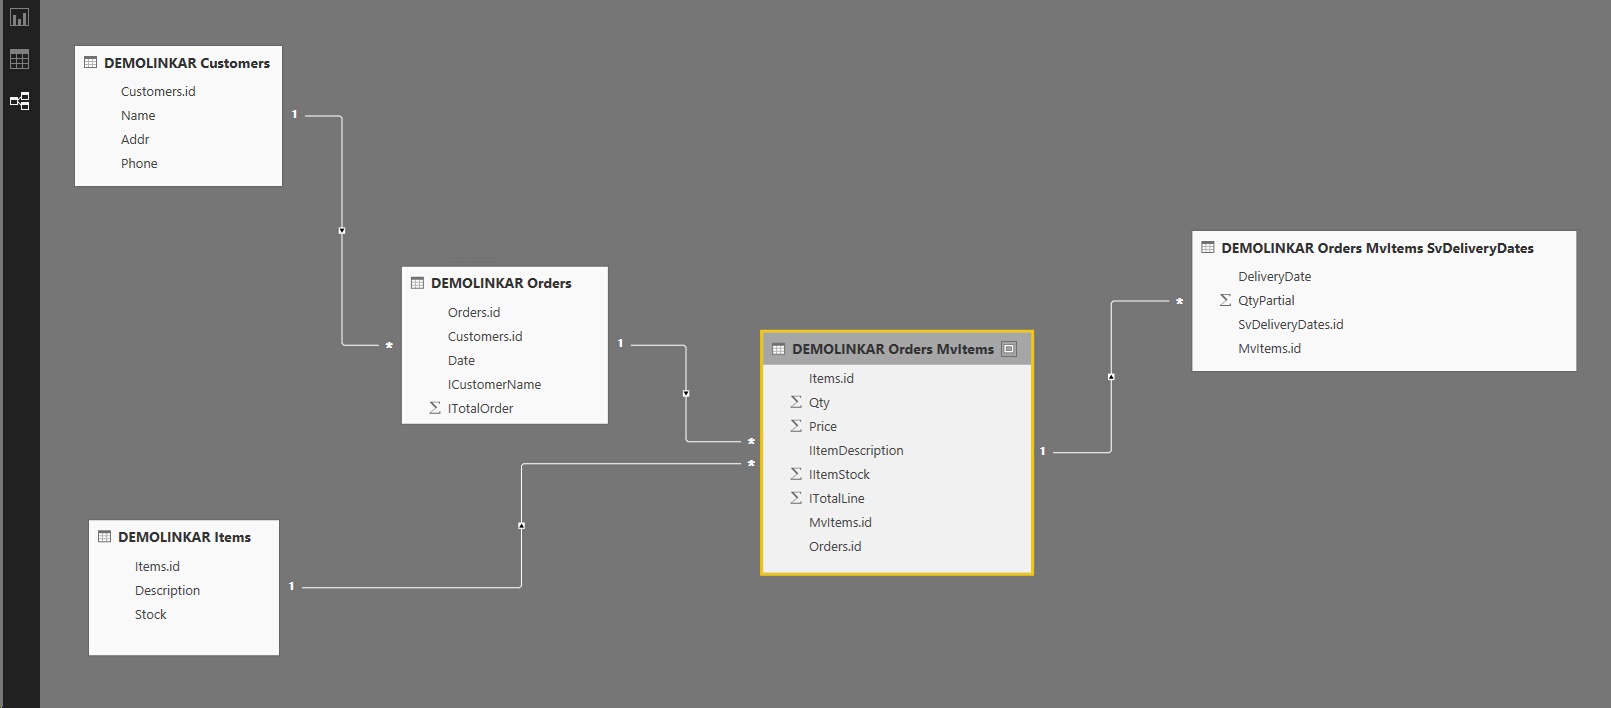
Here you will see 2 more tables, these new tables refer to the MV and SV Groups defined in the ORDERS table. This table has a MV Group called MvItems and this MV Group also has an SV Group named SvDeliveryDates. Linkar converts these Groups into new tables related to the Base File.
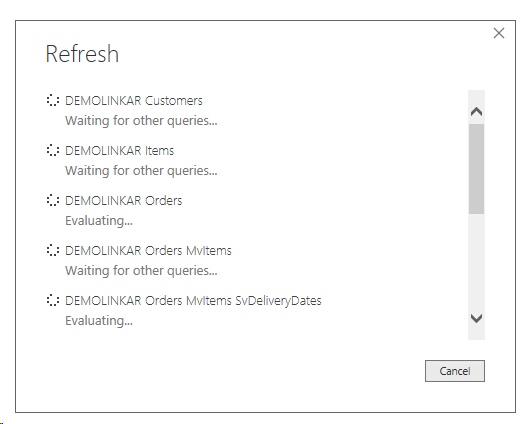
When you choose the tables required, you will see that the relations between them are automatically loaded.
Some relations have been created using the EqualTO property of Linkar Schemas. For instance, there is a relation between the Orders and the Customers table. This relation was created with the EqualTo properties, defined in the Customers property in the LK.ORDERS Schema.
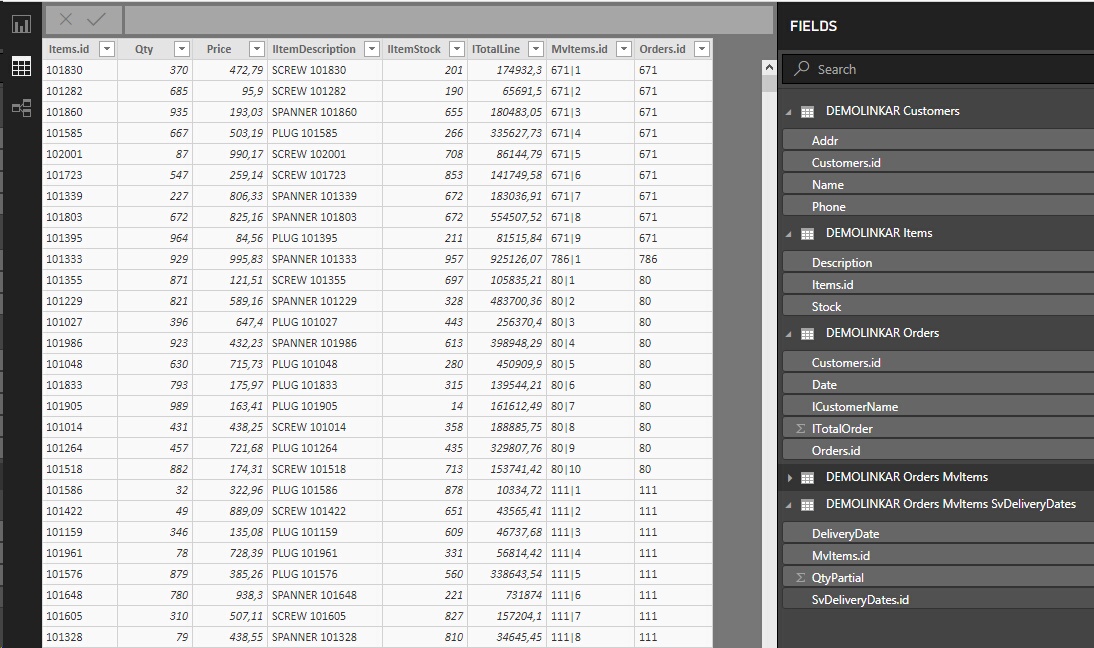
All visible properties have been loaded and the defined Property Data Type has been converted to the Power BI data type.
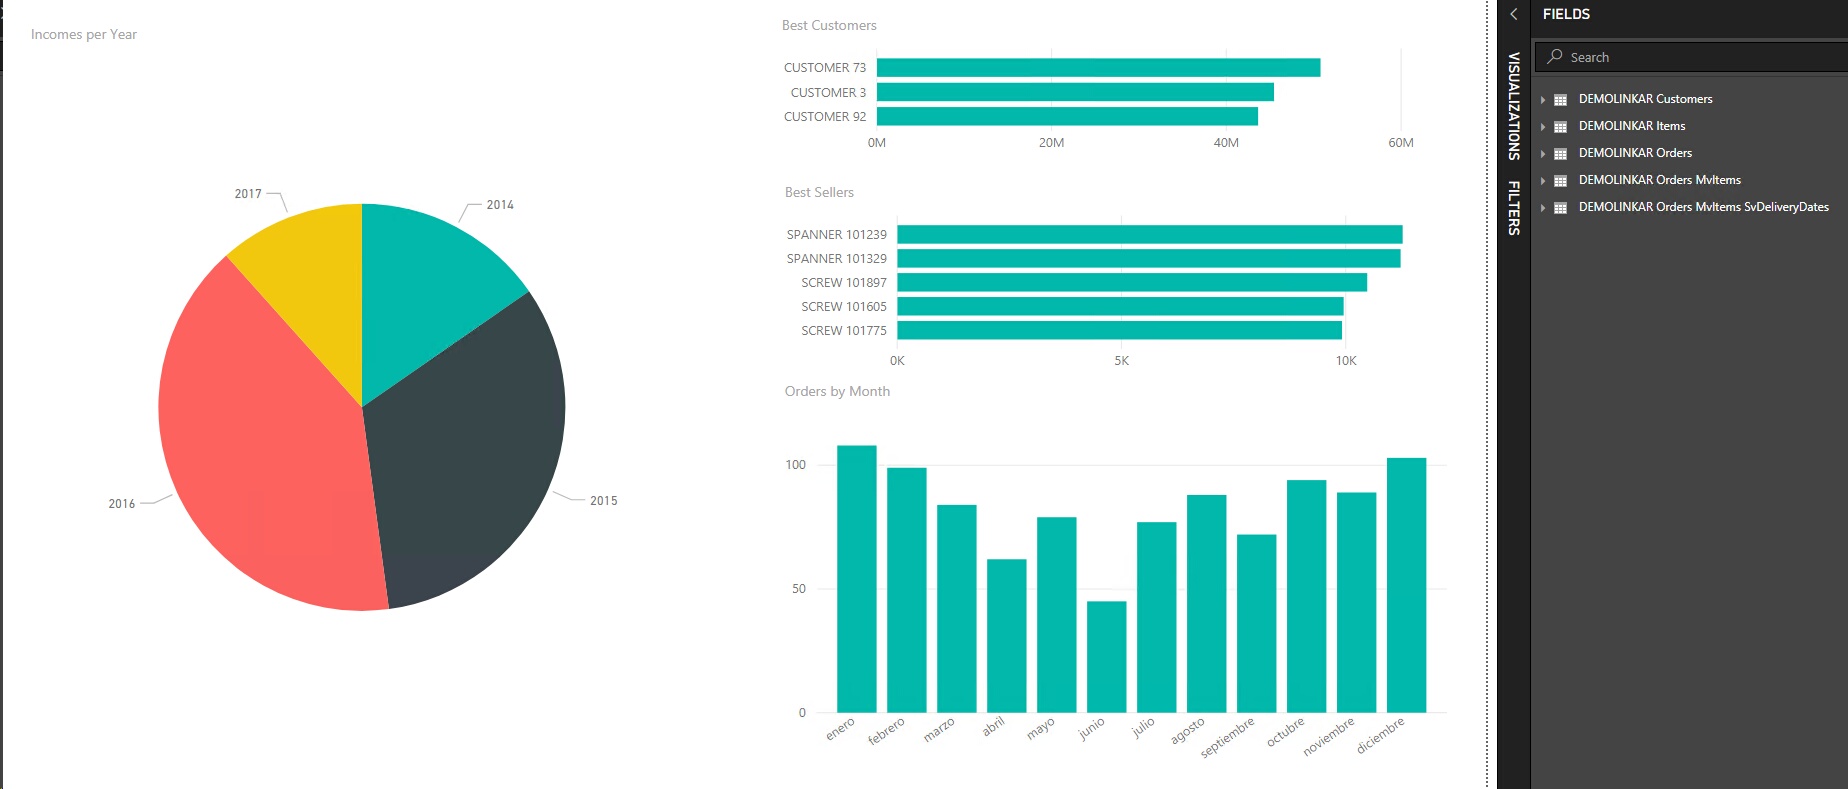
Now, it is your turn, enjoy PowerBI......
|
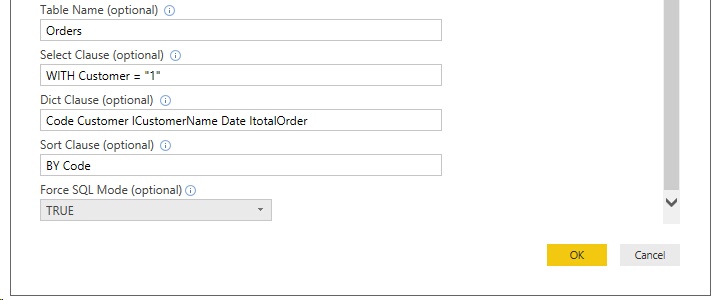
Linkar will import the result of a define SELECT. This way the data transfer will be optimized. We will not need all the records from all the files.
In this mode we will use the same Credentials as before and more optional data:
|
|||||||||||||||
|

